Unleash the Power: A Comprehensive Guide to Ignite Breakout Boards
October 16, 2024Ignite Breakout Boards are essential tools for engineers, hobbyists, and anyone looking to unlock the full potential of microcontrollers. These compact circuit boards provide a convenient and versatile platform to connect and interface with various electronic components, enabling you to prototype, experiment, and build innovative projects with ease.
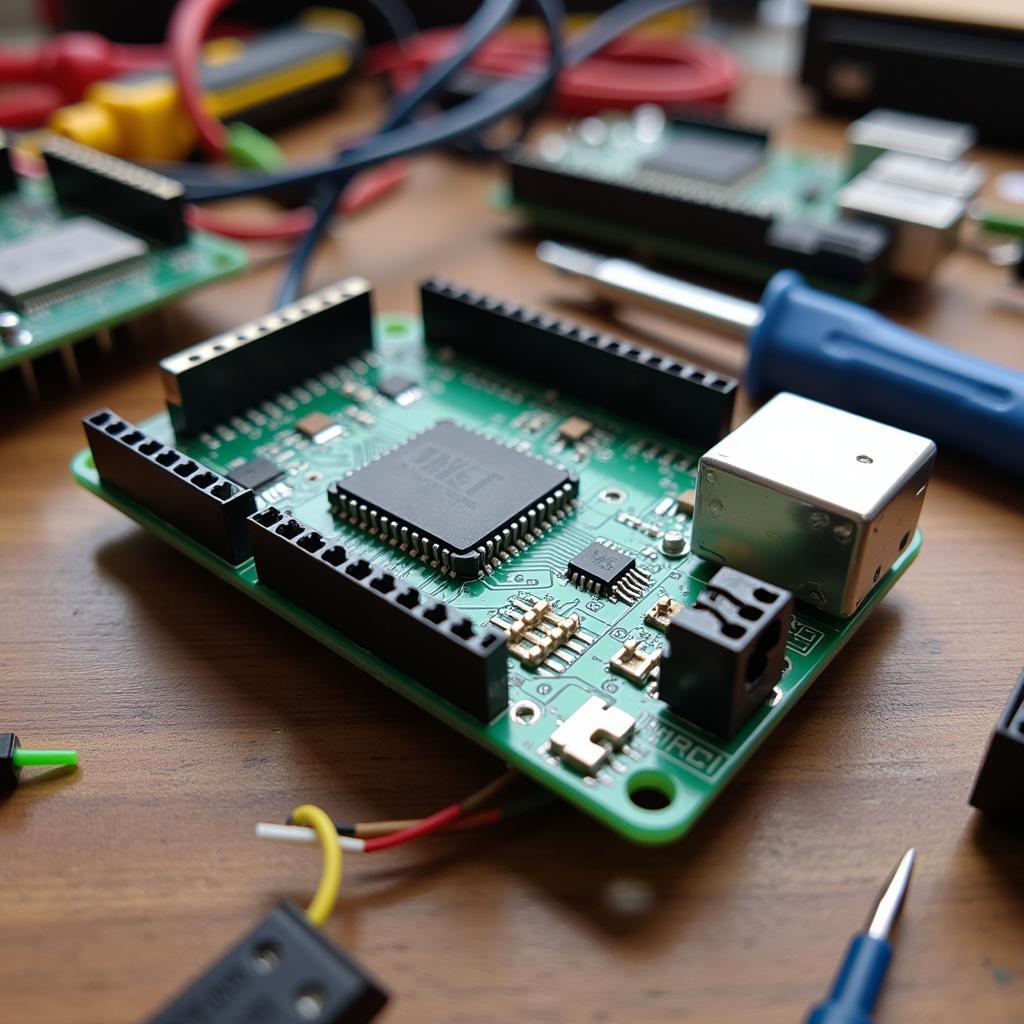 Ignite breakout board overview
What is an Ignite Breakout Board?
An Ignite breakout board acts as an intermediary between a microcontroller and other electronic components. It simplifies the process of connecting components like sensors, actuators, displays, and communication modules to the microcontroller by providing clearly labeled pins and standardized connectors. This eliminates the need for complex wiring and soldering, allowing you to focus on the creative aspects of your projects.
Benefits of Using Ignite Breakout Boards
Ignite breakout boards offer numerous advantages for electronics enthusiasts of all levels:
- Simplified Prototyping: Easily connect and test various components without the hassle of complex wiring.
- Increased Accessibility: Provides a user-friendly interface for beginners and experienced makers alike.
- Enhanced Organization: Keep your projects organized and clutter-free with dedicated breakout boards for specific functionalities.
- Time Savings: Reduce development time by quickly swapping and testing different components.
- Cost-Effectiveness: Experiment with various modules without investing in expensive custom PCBs.
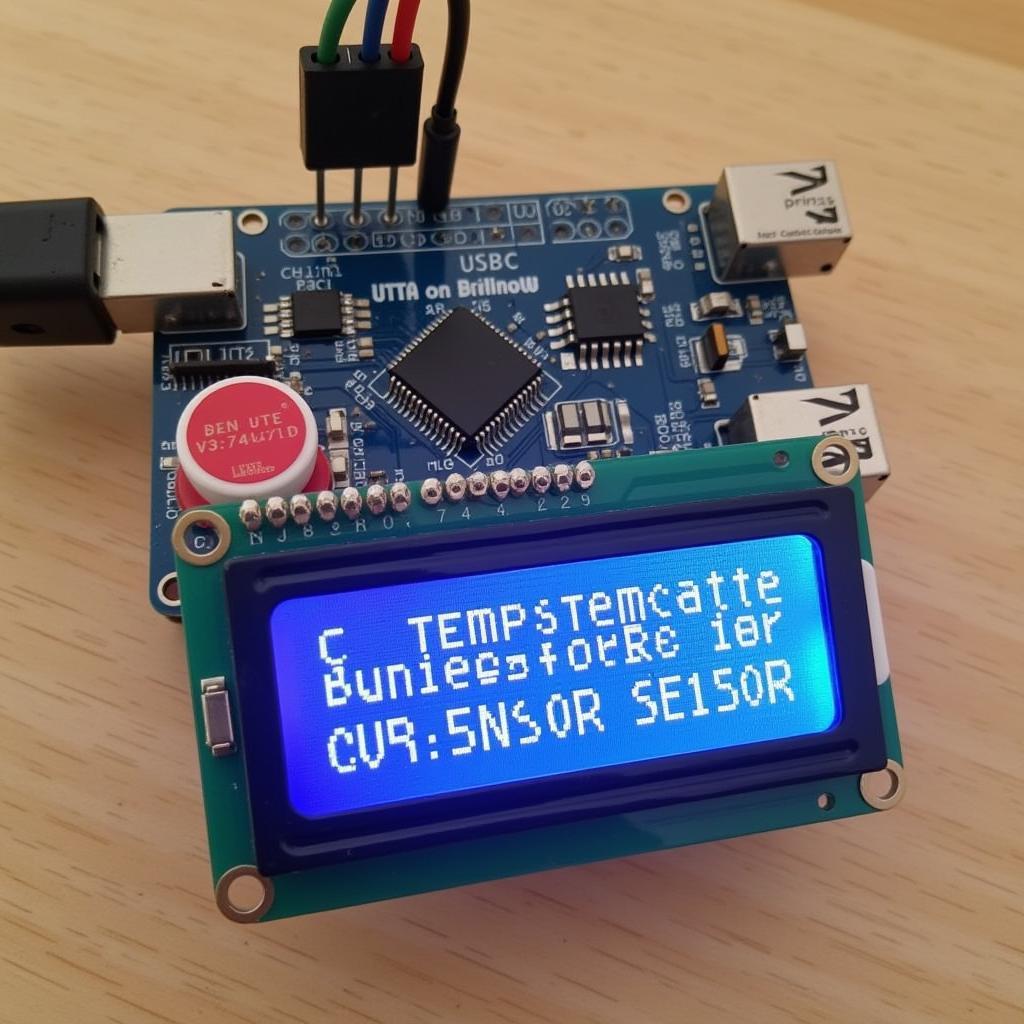 Example project using an Ignite breakout board
Choosing the Right Ignite Breakout Board
Selecting the appropriate Ignite breakout board depends on your project requirements. Consider factors like:
- Microcontroller Compatibility: Ensure the breakout board supports your chosen microcontroller.
- Interface Options: Check for the availability of necessary communication protocols (I2C, SPI, UART).
- Power Requirements: Verify the board’s voltage and current ratings align with your project needs.
- Form Factor: Choose a size that fits your project enclosure or breadboard layout.
- Additional Features: Some boards offer built-in sensors, LEDs, or other peripherals.
Getting Started with Ignite Breakout Boards
Using an Ignite breakout board is straightforward. Follow these general steps:
- Connect the Microcontroller: Securely attach your microcontroller to the designated header pins on the breakout board.
- Connect External Components: Wire the desired components to the corresponding pins on the breakout board, referring to the pinout diagram.
- Power Up the Board: Supply power to the breakout board and microcontroller using an appropriate power source.
- Program the Microcontroller: Write and upload code to your microcontroller, instructing it to interact with the connected components through the breakout board.
- Test and Debug: Verify the functionality of your circuit and troubleshoot any issues.
Ignite Breakout Boards: A Catalyst for Innovation
Ignite breakout boards empower you to bring your electronic ideas to life. Whether you’re a seasoned engineer or an aspiring maker, these versatile tools provide a solid foundation for exploration, experimentation, and creation in the world of electronics.
Do you need assistance with your Ignite breakout board project? Contact our 24/7 customer support team at Phone Number: 0963418788, Email: [email protected], or visit our address: 2M4H+PMH, Phường Nghĩa Thành, Gia Nghĩa, Đắk Nông, Việt Nam.