How to Cancel Your Nine9 Membership: A Step-by-Step Guide
October 13, 2024Canceling a subscription service can often feel like navigating a maze, but it doesn’t have to be that way. If you’re looking to part ways with your Nine9 membership, we’ve got you covered. This guide provides a clear, concise walkthrough of the cancellation process, ensuring a smooth and hassle-free experience.
Understanding Your Nine9 Membership
Before initiating the cancellation, it’s essential to understand the type of Nine9 membership you have and its associated terms and conditions. This information can typically be found on their website or in the initial sign-up email. Familiarizing yourself with these details will equip you with the knowledge needed to proceed confidently.
 Nine9 Membership Options
Cancellation Methods: Choosing What Works Best for You
Nine9 typically offers various cancellation methods to cater to different preferences. These may include:
- Website Cancellation: This usually involves logging into your Nine9 account through their website, navigating to the ‘Membership’ or ‘Account Settings’ section, and following the on-screen prompts for cancellation.
- Email Cancellation: Some services allow cancellations via email. This requires sending a formal cancellation request to Nine9’s designated customer support email address.
- Phone Cancellation: If you prefer direct communication, Nine9 might offer cancellation through their customer support hotline.
Remember, the available cancellation methods can vary depending on your location and the specific terms of your membership.
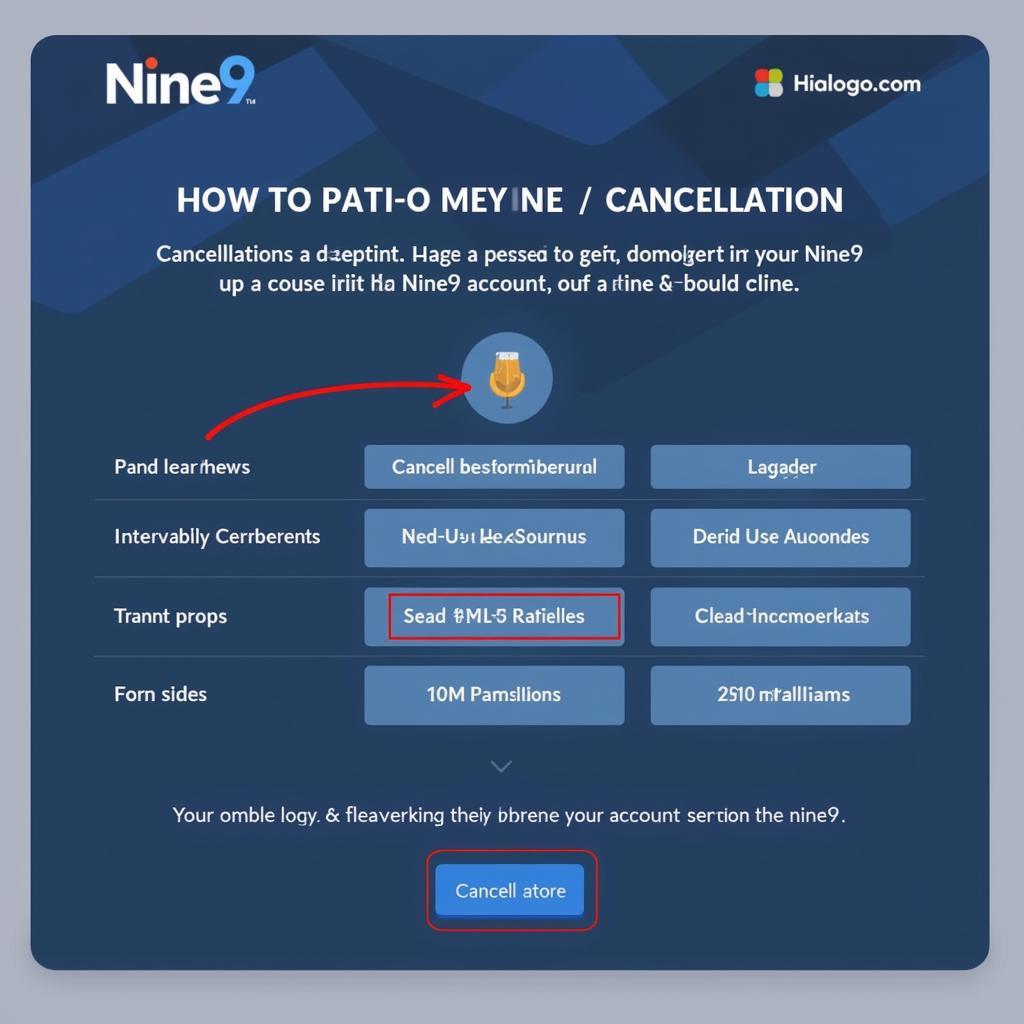 Nine9 Account Cancellation Page
Step-by-Step Cancellation Guide
While the specific steps might differ slightly based on the cancellation method chosen, here’s a general outline:
1. Gather Your Account Information: Keep your Nine9 account login details, including your email address and password, readily available. You might also need your membership ID or other identifying information.
2. Access the Cancellation Section:
- Website: Navigate to the ‘Membership’ or ‘Account Settings’ section after logging in.
- Email: Compose a new email addressed to Nine9’s customer service email.
- Phone: Have your account details ready when you call their customer service number.
3. Follow the Prompts: Each method will guide you with specific instructions. Ensure you read and understand all information presented before proceeding.
4. Confirm Cancellation: Before finalizing, Nine9 might ask for confirmation or offer alternative options. Review these carefully. Once confirmed, you should receive a cancellation confirmation email.
 Nine9 Cancellation Confirmation
Important Things to Remember
- Cancellation Deadline: Be aware of any cancellation deadlines to avoid being charged for the next billing cycle.
- Confirmation Email: Always save a copy of your cancellation confirmation email for future reference.
- Refunds: Understand Nine9’s refund policy regarding cancellations. You might be eligible for a partial refund depending on your membership type and when you cancel.
Conclusion
Canceling your Nine9 membership should be a straightforward process. By following these steps and familiarizing yourself with their cancellation policy, you can ensure a smooth transition.
Remember, if you encounter any difficulties or have specific questions, don’t hesitate to reach out to Nine9’s customer support for assistance. They are there to help!