Carve a Spooktacular Bat Pumpkin Pattern This Halloween
October 17, 2024Get ready to unleash your inner artist and create a Halloween masterpiece with a mesmerizing Bat Pumpkin Pattern. Whether you’re a seasoned pumpkin carving pro or a first-time pumpkin Picasso, this guide will provide you with all the tips and tricks to craft a bat-tastic jack-o’-lantern that will impress your friends and neighbors.
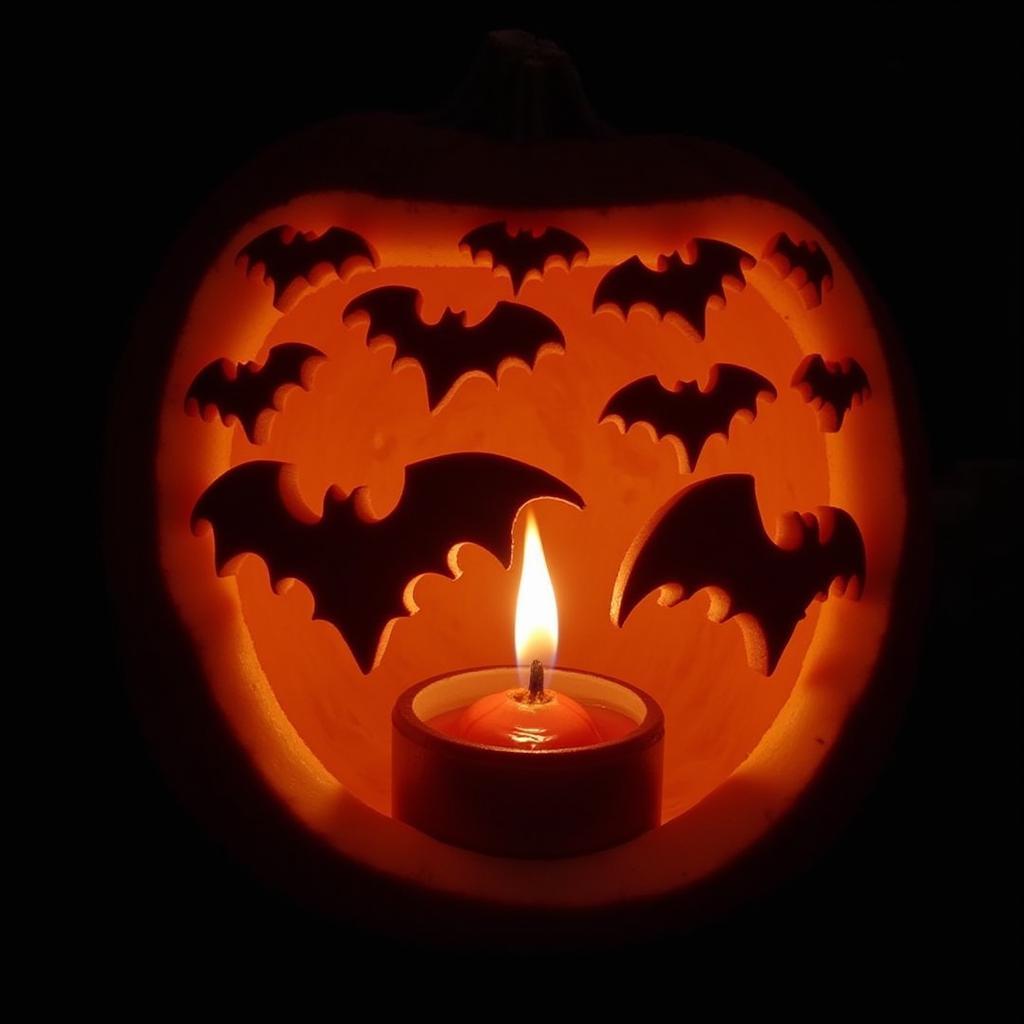
 Bat pumpkin carving ideas
Choosing the Perfect Pumpkin for Your Bat Design
Selecting the right pumpkin is crucial for a successful carving experience. Look for a pumpkin that is:
- Fresh: Choose a pumpkin that feels firm and heavy for its size, with no soft spots or bruises.
- Smooth: A pumpkin with a smoother surface will make carving intricate details easier.
- Sturdy: Opt for a pumpkin with a flat bottom so it sits upright without wobbling.
- Well-Proportioned: Consider the size and shape of your chosen bat design when selecting your pumpkin.
Essential Tools for Bat Pumpkin Carving
Having the right tools is essential for a smooth and enjoyable pumpkin carving session. Here’s what you’ll need:
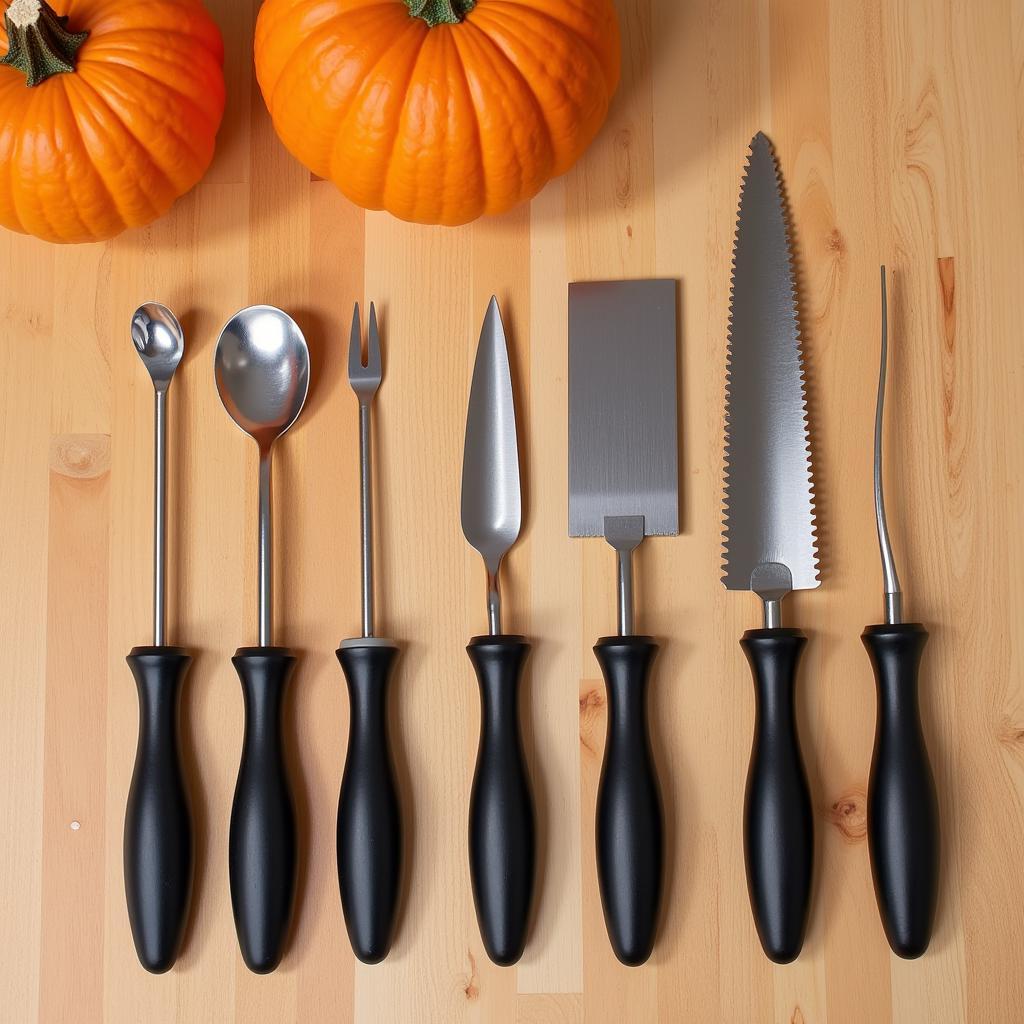
- Sharp carving knives: A set of knives in various sizes will help you tackle different carving tasks.
- Pumpkin saw: This tool is perfect for creating the initial opening and cutting through the pumpkin’s thick walls.
- Scoop: A sturdy scoop will make cleaning out the pumpkin’s insides a breeze.
- Marker: Use a washable marker to sketch your bat design directly onto the pumpkin.
- Poker: This tool is handy for creating small holes for intricate details.
- Newspaper or drop cloth: Protect your work surface from pumpkin mess.
 Essential pumpkin carving tools laid out on a table
Bringing Your Bat Pumpkin Pattern to Life
Step 1: Prepare Your Pumpkin
- Begin by cutting a circular opening around the stem of the pumpkin.
- Use the scoop to remove the seeds and pulp thoroughly.
- Scrape the inside walls of the pumpkin to create a smooth carving surface.
Step 2: Transfer Your Bat Design
- Choose your favorite bat pumpkin pattern. You can find countless free templates online or unleash your creativity and design your own.
- Securely attach the pattern to the pumpkin using tape.
- Use the poker to create small holes along the outline of the design, transferring the pattern onto the pumpkin’s surface.
Step 3: Carve with Precision
- Using your carving knives, carefully cut along the dotted lines you created in the previous step.
- Take your time and work slowly, rotating the pumpkin as needed to access different angles.
- For intricate details, use smaller knives or the poker.
Step 4: Illuminate Your Batty Creation
- Once you’re satisfied with your carving, insert a light source inside the pumpkin.
- You can opt for a traditional candle, a battery-operated LED light, or even a string of fairy lights for a magical glow.
Tips for Carving Success
- Keep it cool: Soak your carved pumpkin in a sink filled with cold water and a few tablespoons of bleach overnight to help preserve it.
- Prevent shriveling: Apply petroleum jelly to the cut edges of your pumpkin to prevent it from drying out.
- Get creative with lighting: Experiment with different light sources and colors to create unique effects.
Conclusion
Carving a bat pumpkin pattern is a rewarding and festive way to celebrate Halloween. With a little patience and creativity, you can create a spooky and impressive jack-o’-lantern that will be the envy of the neighborhood. Remember to have fun with the process and let your imagination take flight. Now, gather your tools, pick out the perfect pumpkin, and let the carving commence!
FAQs
Q: Can I carve a bat pumpkin pattern freehand?
A: Absolutely! While using a template can be helpful, don’t hesitate to unleash your artistic flair and carve your own unique bat design.
Q: What type of light source is best for illuminating a carved pumpkin?
A: LED lights are a safe and long-lasting option, while traditional candles provide a classic, flickering glow.
Q: How can I prevent my carved pumpkin from rotting too quickly?
A: Keep your pumpkin in a cool, dry place and apply petroleum jelly to the cut edges to help retain moisture.
You might also like:
Looking for more pumpkin carving inspiration? Check out our step-by-step guide to carving bengals logo pumpkin carving.
Need help choosing the perfect pumpkin carving tools? We’ve got you covered with our comprehensive buyer’s guide.
For any further assistance with your pumpkin carving endeavors, our team is always here to help. Contact us at 0963418788, email us at [email protected], or visit us at our workshop located at 2M4H+PMH, Phường Nghĩa Thành, Gia Nghĩa, Đắk Nông, Việt Nam. We offer 24/7 customer support to ensure your Halloween creations are a resounding success.