Unleash Your Creativity with Happy Jack O’ Lantern Stencils
October 10, 2024Carving the perfect jack-o’-lantern is a Halloween tradition that brings joy to people of all ages. Whether you’re a seasoned pro or a first-time carver, using a happy jack o’ lantern stencil can help you create a masterpiece that will impress your friends and neighbors.
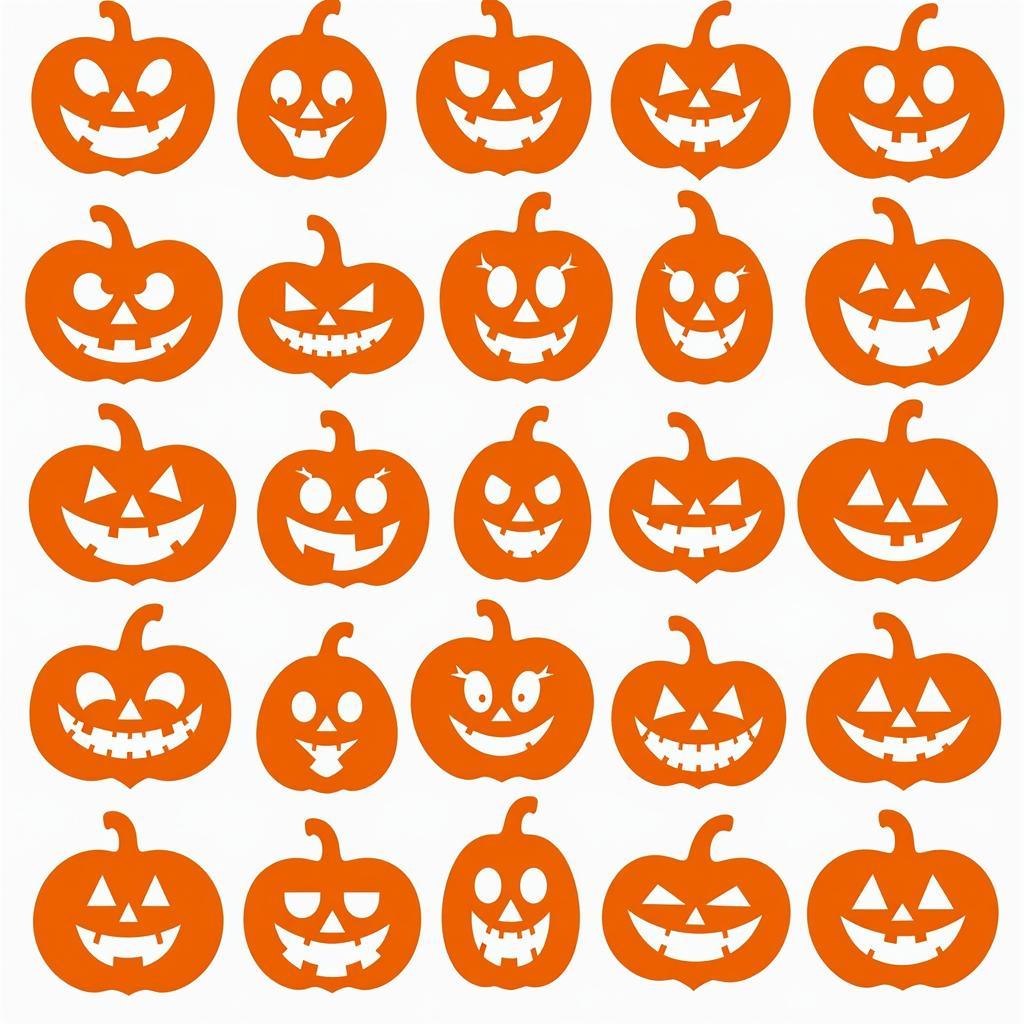 Variety of happy jack o' lantern stencils
Why Choose a Happy Jack O’ Lantern Stencil?
Using a stencil offers several advantages for both beginners and experienced carvers:
- Simplicity: Stencils provide a clear outline, making it easy to follow the design and achieve clean lines.
- Variety: From simple smiles to intricate patterns, there’s a happy jack o’ lantern stencil out there to match every style and skill level.
- Time-Saving: Stencils eliminate the need for freehand drawing, allowing you to spend less time sketching and more time carving.
- Professional Results: Even if you’re not artistically inclined, a stencil can help you create a polished and impressive jack-o’-lantern.
Finding the Perfect Happy Jack O’ Lantern Stencil
With so many options available, finding the right stencil can feel overwhelming. Here are a few tips to help you choose:
- Consider Your Skill Level: If you’re a beginner, start with a simple design with fewer details. As you gain experience, you can graduate to more intricate stencils.
- Think About Your Pumpkin: The size and shape of your pumpkin will influence the type of stencil you choose.
- Browse Online: Websites like Pinterest and Etsy offer a vast collection of free and paid happy jack o’ lantern stencils.
- Get Creative: Don’t be afraid to think outside the box! You can even create your own custom stencil using cardboard or printable template paper.
Tips for Using Your Happy Jack O’ Lantern Stencil
Once you’ve found the perfect stencil, follow these steps to bring your jack-o’-lantern to life:
- Prepare Your Pumpkin: Clean the pumpkin thoroughly and cut out the top, removing all the seeds and pulp.
- Secure the Stencil: Use masking tape to firmly attach the stencil to the pumpkin, ensuring it’s smooth and wrinkle-free.
- Trace the Design: Use a sharp pencil or a poking tool to carefully trace the outline of the stencil onto the pumpkin.
- Carve Carefully: Use a serrated knife or pumpkin carving tools to carve along the traced lines. Remember to take your time and work slowly to avoid mistakes.
- Illuminate Your Creation: Place a candle or LED light inside your carved pumpkin and watch it glow!
Making Your Jack-o’-Lantern Shine: Creative Carving Tips
- Varying Depth: Carve some areas deeper than others to create a more dynamic and interesting effect with the light shining through.
- Adding Dimension: Use carving tools to create subtle details and textures within the design.
- Exploring Different Lighting: Experiment with candles of different colors or LED lights with varying brightness levels to create unique moods.
“Using a happy jack o’ lantern stencil allows for both creativity and precision. Don’t be afraid to experiment with different techniques to make your pumpkin truly one-of-a-kind!” – Emily Carter, pumpkin carving enthusiast and owner of Pumpkin Hollow Farm.
Conclusion
Creating a happy jack-o’-lantern is a fun and rewarding Halloween tradition. By using a happy jack o’ lantern stencil, you can achieve professional-looking results and unleash your creativity. Remember to choose a stencil that matches your skill level and pumpkin size, and don’t be afraid to experiment with different carving techniques. With a little patience and imagination, you’ll have a jack-o’-lantern that will light up the night!