Mastering the Corner with a Corner Die Cutter
October 21, 2024A Corner Die Cutter may not be the first tool you think of when it comes to football, but stay with me! In the world of design and crafting, a corner die cutter is an essential tool for adding a touch of professionalism and flair. Just as I strive for precision on the pitch, a corner die cutter allows anyone to achieve clean, precise rounded corners on a variety of materials like paper, cardstock, and even thin plastic sheets. Whether you’re creating personalized invitations, sprucing up your scrapbook, or adding a unique touch to your DIY projects, understanding how to use a corner die cutter can open up a world of creative possibilities.
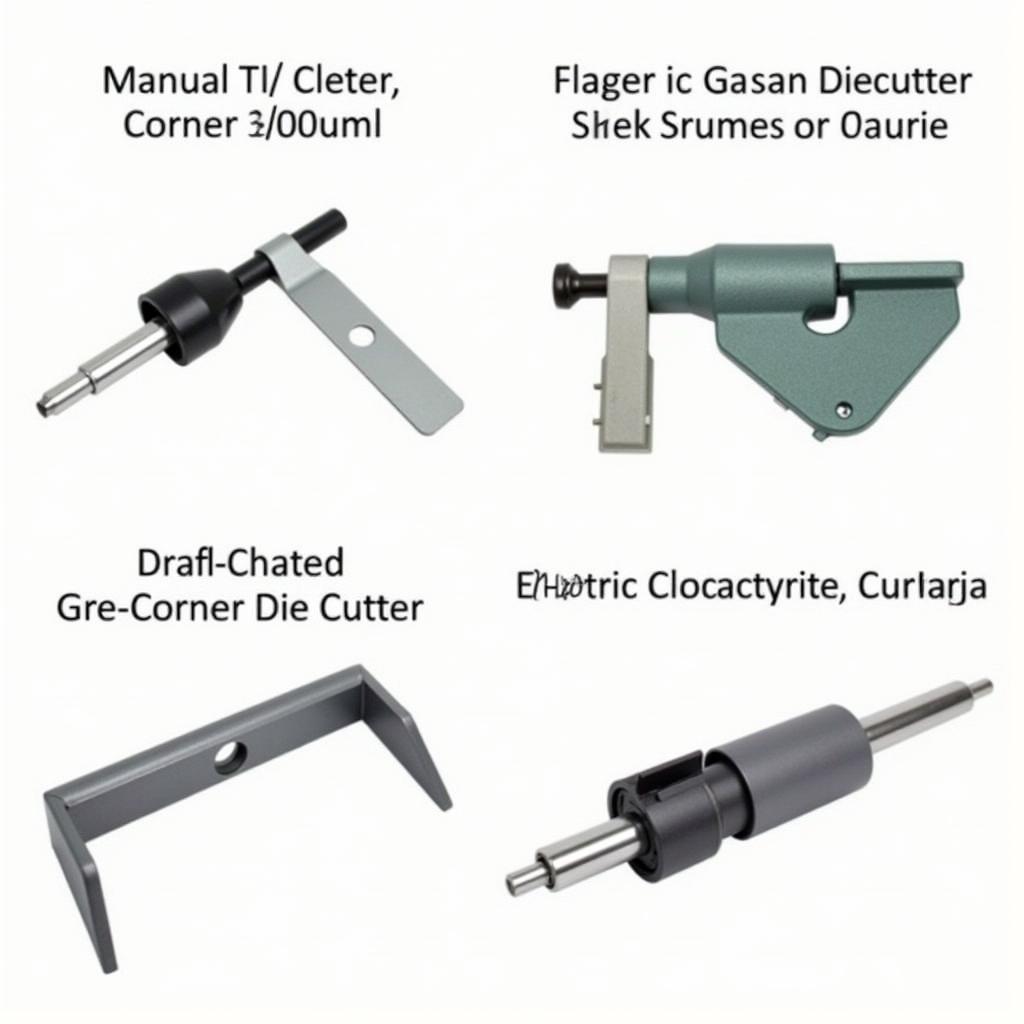 Different Types of Corner Die Cutters
Choosing the Right Corner Die Cutter for Your Needs
Just as I have to analyze the opposing team’s strategy, you’ll need to consider your specific needs when selecting a corner die cutter. There are several factors to keep in mind:
-
Volume: How often will you be using the corner die cutter? For occasional use, a manual die cutter might suffice. However, if you anticipate frequent use or need to cut through thicker materials, an electric die cutter would be a wise investment.
-
Corner Radius: Die cutters come with various corner radius sizes. Consider the size and style of your projects to determine the appropriate radius.
-
Material: Ensure the die cutter you choose is compatible with the materials you intend to use.
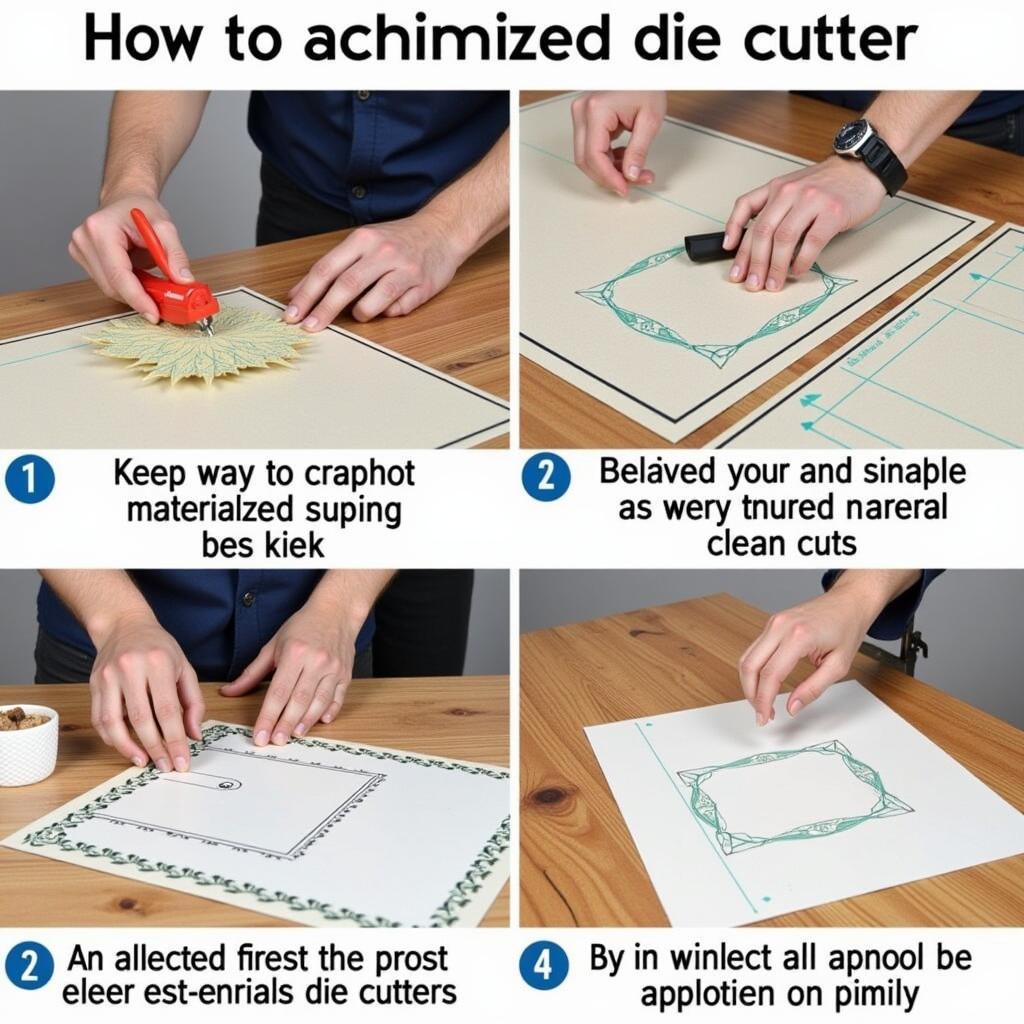
A Winning Technique: How to Use a Corner Die Cutter
Using a corner die cutter is remarkably straightforward, but mastering the technique ensures professional-looking results every time. Follow these steps to achieve perfect rounded corners:
-
Position Your Material: Align your chosen material carefully within the die cutter’s designated cutting area. Make sure the corner you want to round off is placed precisely where the blades will meet.
-
Apply Pressure: For manual die cutters, firmly press down on the lever, ensuring a clean cut. With electric models, activate the machine to engage the cutting mechanism.
-
Remove and Repeat: Carefully remove your material and examine the cut. If you’re happy with the result, repeat the process for the remaining corners.
 Proper Techniques for Using a Corner Die Cutter
Beyond the Basics: Exploring Creative Applications
A corner die cutter’s versatility extends beyond simply rounding corners. Here are a few inspiring ways to elevate your creative projects:
-
Personalized Greeting Cards: Add a touch of elegance to your handmade cards by rounding the corners.
-
Photo Frames and Albums: Create a polished look for your treasured memories by using a corner die cutter on photos, mats, and album pages.
-
Custom Stickers and Labels: Design unique stickers and labels with rounded corners for a professional finish.
- Decorative Bookmarks: Craft personalized bookmarks with rounded corners for a comfortable grip and stylish appeal.
Troubleshooting Common Corner Die Cutter Challenges
Even with the best techniques, you might encounter a few hiccups along the way. Here are some common issues and how to address them:
-
Incomplete Cuts: Ensure the blades are sharp and properly aligned. Apply firm and even pressure when cutting.
-
Rough Edges: Clean the die cutter’s blades regularly to remove any debris or adhesive buildup.
-
Misaligned Cuts: Double-check the alignment of your material before each cut. Consider using a guide or ruler for precise positioning.
Conclusion
Just as I strive for perfection on the field, a corner die cutter empowers you to achieve professional-looking results in your creative endeavors. By understanding the different types, mastering the techniques, and exploring creative applications, you can unlock a world of possibilities with this versatile tool. So, go ahead and round those corners with confidence!
Need help with your creative projects? Contact us at Phone Number: 0963418788, Email: [email protected] Or visit our address: 2M4H+PMH, Nghĩa Thành Ward, Gia Nghia City, Đắk Nông Province, Vietnam. Our customer service team is available 24/7.